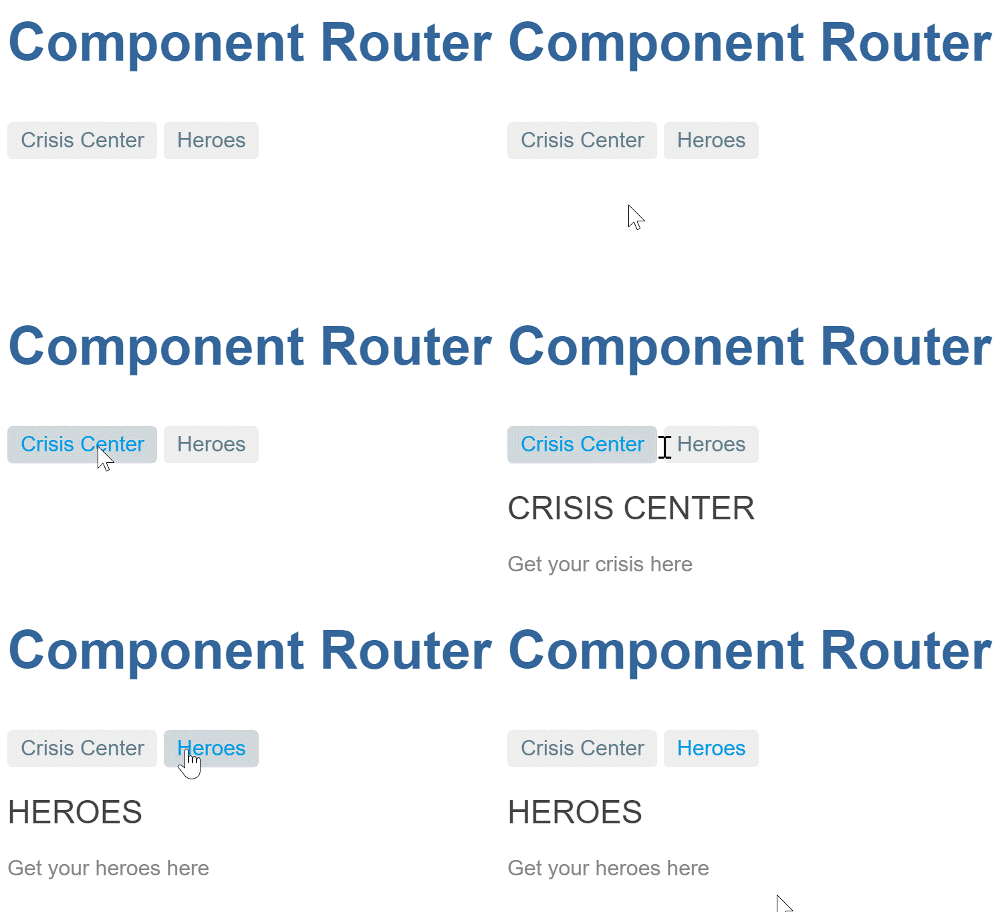
Routing Basics (DRAFT) 6.0
Milestone
For this first milestone, you’ll create a rudimentary version of the app that navigates between two (placeholder) views.

App setup
Create a new project named router_example, and populate it as described in
Setup for Development.
Add angular_router
Add the router and forms packages as pubspec dependencies:
pubspec.yaml (dependencies)
dependencies:
  angular: ^6.0.1
  angular_forms: ^3.0.0
  angular_router: ^2.0.0-alpha+22
Add router providers
To tell Angular that your app uses the router, specify routerProvidersHash in your app’s bootstrap function:
web/main.dart
import 'package:angular/angular.dart';
import 'package:angular_router/angular_router.dart';
import 'package:router_example/app_component.template.dart' as ng;

import 'main.template.dart' as self;

const useHashLS = false;
@GenerateInjector(
  routerProvidersHash, // You can use routerProviders in production
)
final InjectorFactory injector = self.injector$Injector;

void main() {
  runApp(ng.AppComponentNgFactory, createInjector: injector);
}
Which location strategy to use
The default LocationStrategy is PathLocationStrategy so, in production, you can use routerProviders. During development, it is more convenient to use routerProvidersHash (which has a HashLocationStrategy provider override for LocationStrategy) because webdev serve does not support deep linking. See the Router Appendix on LocationStrategy and browser URL styles for details.
Set the base href
Add a <base href> element to the app’s index.html.
The browser uses the base href value to prefix relative URLs when referencing CSS files, scripts, and images.
The router uses the base href value to prefix relative URLs when navigating.
The starter app sets the <base> element dynamically,
so that sample apps built from it can be run and tested during development using any
of the officially recommended tools:
web/index.html (base-href)
<script>
  // WARNING: DO NOT set the <base href> like this in production!
  // Details: https://webdev.dartlang.org/angular/guide/router
  (function () {
    var m = document.location.pathname.match(/^(\/[-\w]+)+\/web($|\/)/);
    document.write('<base href="' + (m ? m[0] : '/') + '" />');
  }());
</script>
For a production build, replace the <script> with a
<base> element where the href is set to your app’s root path.
If the path is empty, then use "/":
<head>
  <base href="/">
  ...
</head>
You can also statically set the <base href> during development.
When serving from the command line, use href="/".
When running apps from WebStorm, use href="my_project/web/",
where my_project is the name of your project.
<base href="/my_project/web/">
Create crisis and hero list components
Create the following skeletal components under lib/src. You’ll be using these as router
navigation targets in the next section:
Routes
Routes tell the router which views to display when a user clicks a link or pastes a URL into the browser address bar.
Route paths
First define a route path (RoutePath) for each of the app’s views:
lib/src/route_paths.dart
import 'package:angular_router/angular_router.dart';

class RoutePaths {
  static final crises = RoutePath(path: 'crises');
  static final heroes = RoutePath(path: 'heroes');
}Route definitions
The router coordinates app navigation based on a list of route defintions. A route definition (RouteDefinition) associates a route path with a component. The component is responsible for handling navigation to the path, and rendering of the associated view.
Define the following routes:
lib/src/routes.dart
import 'package:angular_router/angular_router.dart';

import 'crisis_list_component.template.dart' as crisis_list_template;
import 'hero_list_component.template.dart' as hero_list_template;
import 'route_paths.dart';

export 'route_paths.dart';

class Routes {
  static final crises = RouteDefinition(
    routePath: RoutePaths.crises,
    component: crisis_list_template.CrisisListComponentNgFactory,
  );

  static final heroes = RouteDefinition(
    routePath: RoutePaths.heroes,
    component: hero_list_template.HeroListComponentNgFactory,
  );

  static final all = <RouteDefinition>[
    crises,
    heroes,
  ];
}
AppComponent navigation
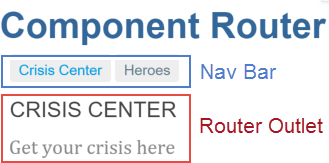
Next, you’ll edit AppComponent so that it has
a title,
a navigation bar with two links, and
a router outlet where the router swaps views on and off the page.
This is what it will look like:

Update the AppComponent code to the following:
import 'package:angular/angular.dart';
import 'package:angular_router/angular_router.dart';

import 'src/routes.dart';

@Component(
  selector: 'my-app',
  template: '''
    <h1>Angular Router</h1>
    <nav>
      <a [routerLink]="RoutePaths.crises.toUrl()"
         [routerLinkActive]="'active-route'">Crisis Center</a>
      <a [routerLink]="RoutePaths.heroes.toUrl()"
         [routerLinkActive]="'active-route'">Heroes</a>
    </nav>
    <router-outlet [routes]="Routes.all"></router-outlet>
  ''',
  styles: ['.active-route {color: #039be5}'],
  directives: [routerDirectives],
  exports: [RoutePaths, Routes],
)
class AppComponent {}
RouterOutlet
RouterOutlet is one of the routerDirectives.
To use a router directive like RouterOutlet within a
component, add it individually to the component’s directives list,
or for convenience you can add the routerDirectives list:
template: '''
  ...
  <router-outlet [routes]="Routes.all"></router-outlet>
''',
directives: [routerDirectives],
In the DOM, the router diplays views (for the routes bound to the routes
input property) by inserting view elements as siblings
immediately after <router-outlet>.
RouterLinks
Above the outlet, within anchor tags, you see property bindings to RouterLink directives. Each router link is bound to a route path.
<nav>
  <a [routerLink]="RoutePaths.crises.toUrl()"
     [routerLinkActive]="'active-route'">Crisis Center</a>
  <a [routerLink]="RoutePaths.heroes.toUrl()"
     [routerLinkActive]="'active-route'">Heroes</a>
</nav>
<router-outlet [routes]="Routes.all"></router-outlet>
Set the RouterLink routerLinkActive property to the CSS class
that the router will apply to the element when its route is active.
template: '''...
    <a [routerLink]="RoutePaths.crises.toUrl()"
       [routerLinkActive]="'active-route'">Crisis Center</a>
    <a [routerLink]="RoutePaths.heroes.toUrl()"
       [routerLinkActive]="'active-route'">Heroes</a>
...''',
styles: ['.active-route {color: #039be5}'],
App code
You’ve got a very basic, navigating app, one that can switch between two views when the user clicks a link. The app’s structure looks like this:
- router_example
- lib
- app_component.dart
- src
- crisis_list_component.dart
- hero_list_component.dart
- route_paths.dart
- routes.dart
- web
- index.html
- main.dart
- styles.css
- lib
Here are the files discussed in this milestone